
A hammock is simple in concept but easily neglected in practice. You hang it, you nap in it, and eventually it frays, stains, or gathers mildew if you ignore it. This guide walks through practical, low-effort maintenance and small repairs that extend the life of your hammock by years—with tips that work for indoor and outdoor setups alike. Expect checklists, quick fixes you can do in 15 minutes, and advice on when to replace hardware instead of patching it.
Why Maintenance Matters and Why It’s Not Boring

You probably treat your hiking boots and sleeping bag well; your hammock deserves similar care. A neglected hammock can lose strength at seams or straps and become unsafe. Also, small fixes preserve comfort: a repaired seam lies flatter, a cleaned fabric breathes better, and a protected hammock resists sun damage. Best part—these tasks are mostly tiny, practical actions you can do while your coffee brews.
Quick Daily and Weekly Habits (5–10 Minutes)
Small habits stack. Do these after every use or weekly if you’re a casual user.
- Shake and air out. After each use, give the hammock a quick shake and hang it in a shady spot to dry. Damp fabric breeds mildew.
- Inspect attachment points. Look at carabiners, hooks, and strap loops for cracks or deformation. Replace hardware showing wear.
- Remove loose debris. Use a soft brush or lint roller for pollen, sand, or leaves—debris abrades nylon over time.
- Store clean and dry. Even indoor hammocks benefit from a carrying bag or breathable storage sack to limit dust and sun exposure.
Monthly Maintenance Checklist (15–30 Minutes)
A monthly check keeps problems small and cheap.
- Full fabric inspection. Scan seams and the body for tiny tears or thinning. Pay attention to stitching lines—triple-stitched seams are hands-down sturdier.
- Hardware test. Lock and unlock carabiners, check for rust on metal parts, and make sure hooks rotate smoothly. Aluminum hardware resists rust but still benefits from a visual check.
- Clean the hammock. Most nylon suspended beds clean well with mild soap and lukewarm water—hand wash or a gentle machine cycle inside a laundry bag if the product instructions allow. Avoid bleach and high heat.
- Dry fully before storage. Never pack damp. It’s the fastest route to mildew and bad smells.
Cleaning: Hacks That Actually Work
- Spot-treat stains with a soft brush and mild soap. Let the soap soak a minute before rinsing.
- Seasonal deep clean: soak the hammock in a bathtub with warm water and a gentle detergent; agitate by hand and rinse thoroughly.
- Mildew removal: make a paste of baking soda and water, apply to the spot, let sit 10–15 minutes, then brush and rinse. If mildew is widespread, sun-dry after cleaning—UV helps sanitize fabric.
Small Repairs You Can Do at Home
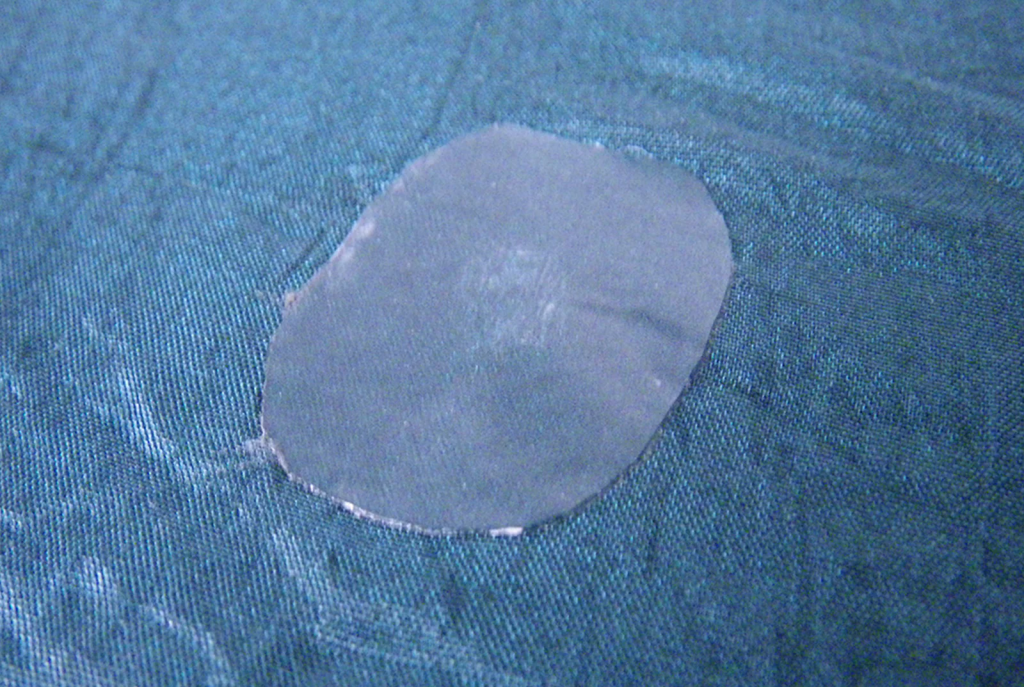
Not every tear needs professional fixing. Here are reliable, inexpensive fixes.
1. Patch Small Fabric Tears
Use a nylon repair patch or a strip of ripstop nylon and a strong adhesive designed for fabrics. Clean and dry the area first, apply the patch on the underside, press for several minutes, and let it cure overnight.
2. Restitch Loose Seams
A heavy-duty needle and polyester or nylon thread will do. Reinforce the area with box or zig-zag stitching, and if the hammock originally had triple stitching, mimic it or add extra passes to distribute stress.
3. Replace Worn Suspension Lines
If ropes or webbing fray at contact points, replace them before they fail. Use rated replacement straps and knots that are simple to untie; an alpine butterfly is good for making loops.
4. Carabiner and Hook Swaps
If a carabiner shows deformation, replace it. Don’t be tempted to repair cracked metal—replace it. Hardware is inexpensive compared to the risk of a fall.
Long-Term Care: Protect From Sun, Salt, and Animals
- Sun: UV breaks down nylon over years. If your hammock sits in direct sun daily, rotate its position or use a UV-protective cover.
- Salt & sand: Rinse hammocks used at the beach; salt accelerates fabric wear and corrodes hardware.
- Animals: In cabins or porches, store hammocks where pets can’t chew them; small tears from teeth tend to grow fast.
When to Retire a Hammock
You can patch a lot, but some signals mean it’s time to replace.
- Multiple seams failing near the same area.
- Fabric so thin you see light through it in several spots.
- Suspension system worn across multiple points.
- Hardware with clear deformation or fractures.
If any of these appear, retire the hammock or convert it into a small utility sling or tree-side towel—recycling is fine, but safety is not negotiable.
Maintaining an Ultra-Light Travel Hammock
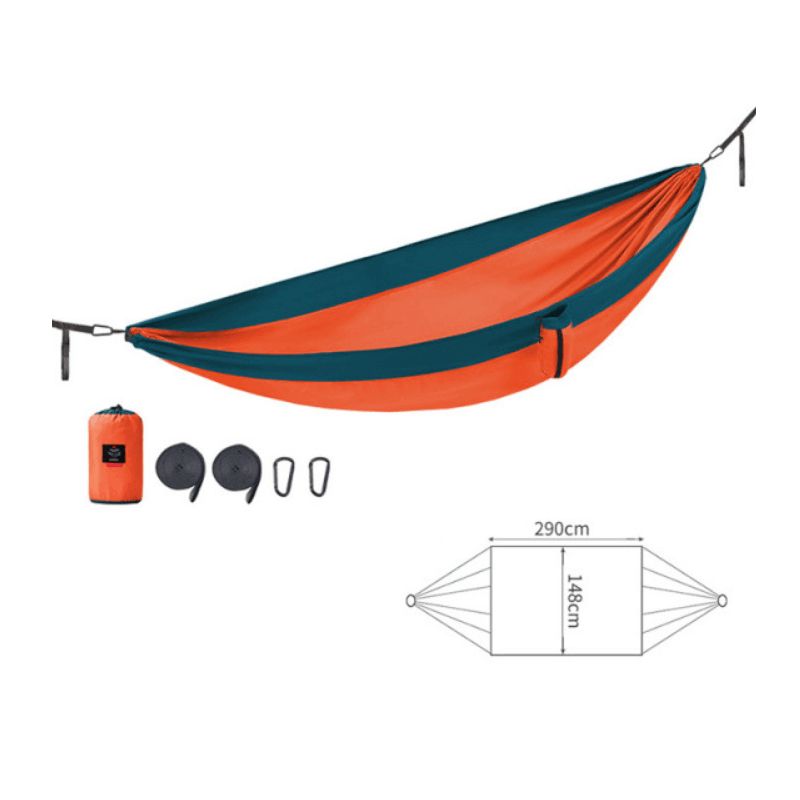
The Ultra-Light Travel Hammock is built for adventurers: quick-drying nylon, triple stitching, aluminum hooks, and compact storage. That design also guides maintenance. I treat it like this: after every hike I shake and air it; monthly I inspect triple-stitched seams for skipped stitches; if a seam shows stress I restitch with polyester thread; if a hook is dented I replace it immediately. For ultralight hammocks, suspension points and stitching are the most important—ignore them at your peril.
Small Kit to Keep With Your Hammock
Assemble this compact repair kit and tuck it in the carrying bag:
- Nylon repair patches and strong adhesive
- Heavy-duty sewing needle + polyester/nylon thread
- Spare webbing and a short length of cord
- Two rated carabiners
- Small multi-tool and pocket brush
These items let you handle most field repairs without a trip to the shop.
Final Thoughts: Maintenance Is a Tiny Habit With Big Returns
A little attention keeps your hammock safer, cleaner, and more comfortable—and it saves money. Do the simple weekly checks, clean seasonally, and patch early. When a repair crosses the safety line, replace the hardware or the whole hammock. Treat it well, and your hammock will reward you with years of naps, sunsets, and lazy weekend reading.
Maintain your hammock for peak comfort—shop the gear and repair kits for safer hangs.